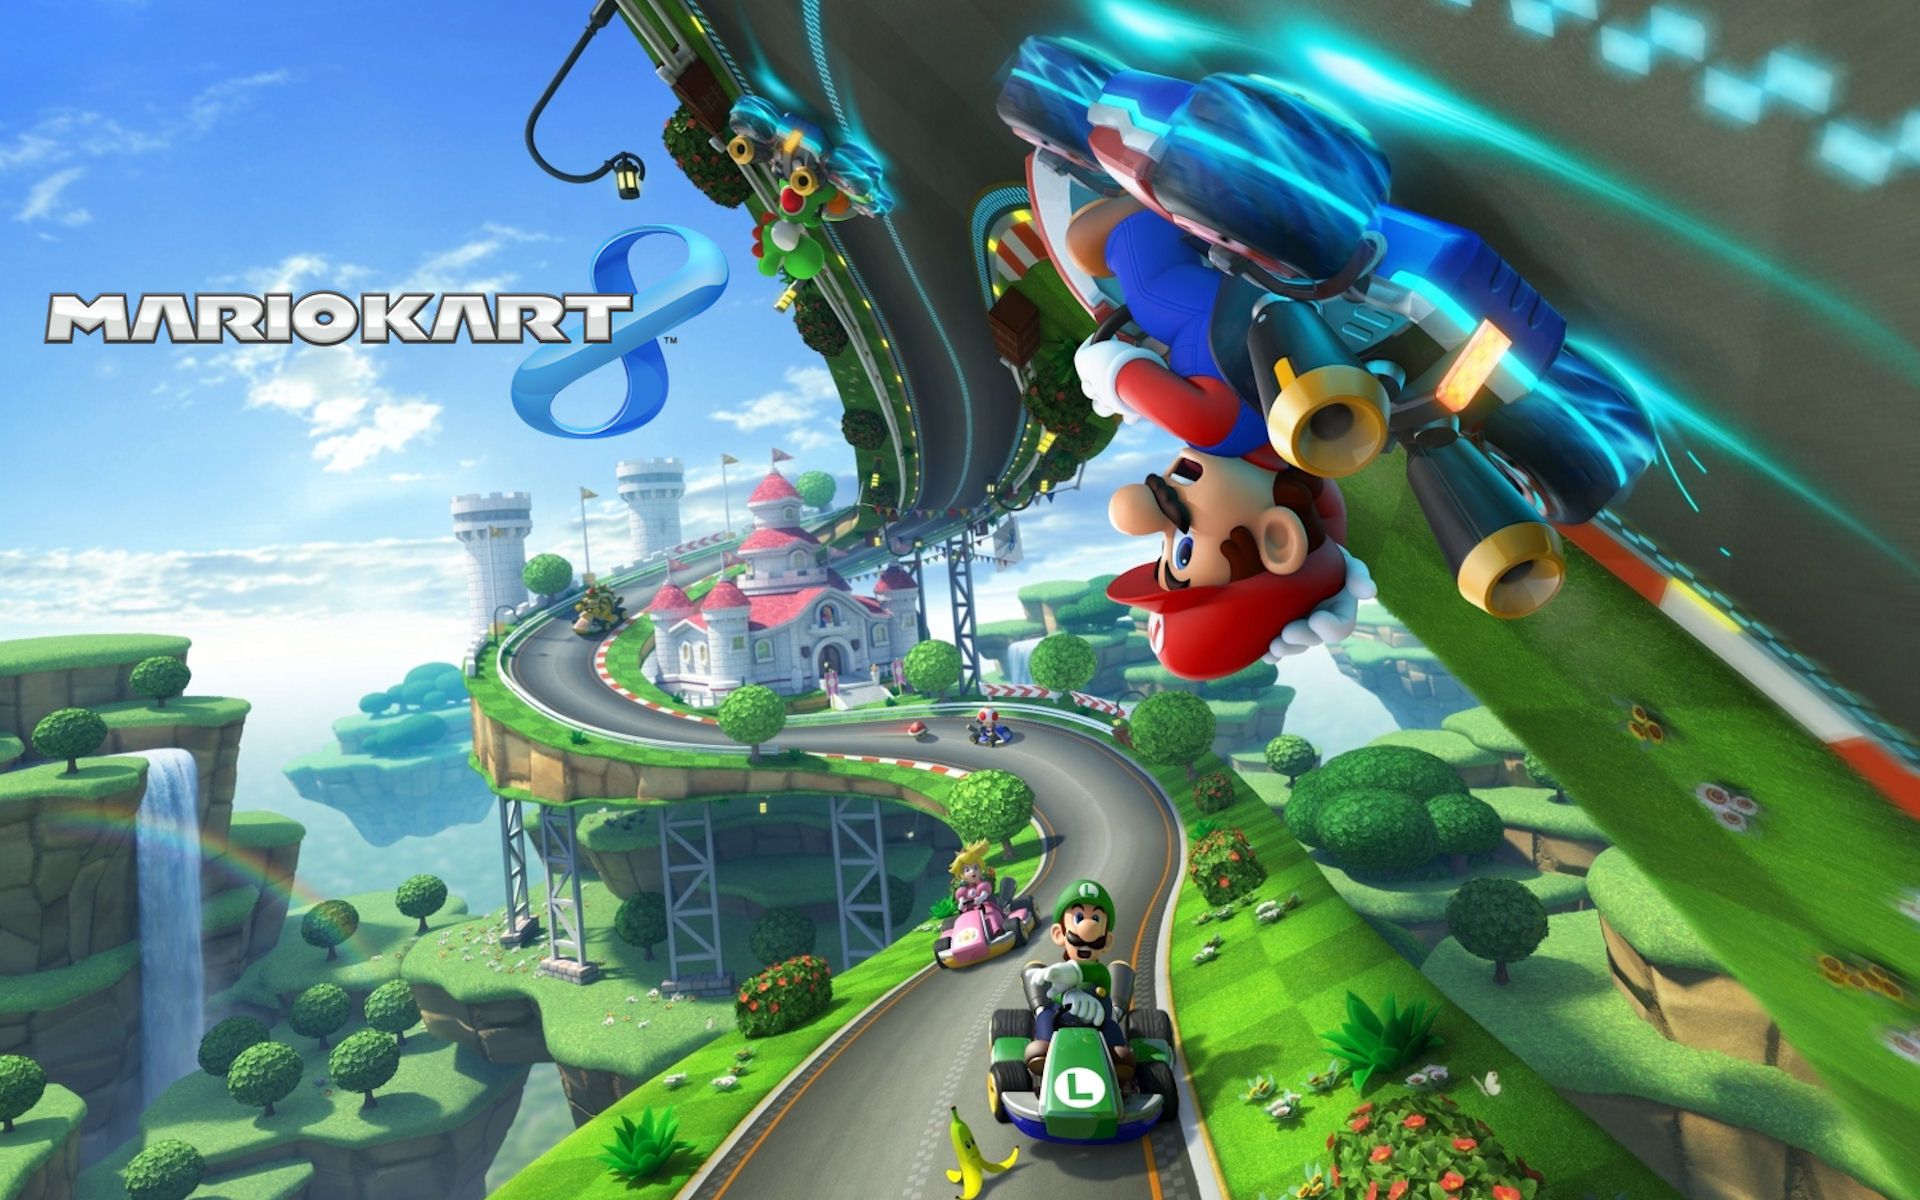
I play a fair bit of Mario Kart, but in my time learning how to play the game I’ve had to figure out my ‘optimal’ way to play by trial and error, experimentation, and dredging through many online wikis and Reddit posts. I decided to try to compile everything I know into one source so that anyone who wants to get better at the game can skim it for things they don’t already know.
If you've been playing Mario Kart for a while, a lot of this will seem very obvious. This is meant to be a comprehensive guide, for beginner and veterans alike. There are also probably things I don't know! If you think I'm missing something, or even if I've made a typo, or a factual mistake, comment below and I'll update the post.
Table of Contents
- Unlockables
- Stats
- Choosing your character
- Choosing your kart
- Techniques
- Items
- Maps
- Multiplayer
- Playing at 200cc
- How Do I Use This Guide?
Unlockables
I’m going to reference kart parts and things later as if you know what I’m talking about, so I’ll quickly cover off here how to unlock all the things you don’t already have when you first fire the game up.
Characters
- Unlock at random each time you win a cup (i.e. get gold, you don’t have to win a star)
- DLC Characters unlock when you buy the DLC
Tracks
- The DLC tracks are not immediately available and are unlocked by purchasing the DLC.
- When I refer to ‘basic tracks’ I am referring to the non-DLC tracks.
Kart Pieces
- Normal pieces - unlock randomly every 50 coins.
- Gold Pieces - There are three difficult-to-unlock kart pieces that together make the gold kart.
- Gold Standard (body) - One star every basic GP on 150cc. To get one star you must get 54 or higher, i.e. three firsts and a third at worst.
- Gold Tires - Beat every staff ghost on basic 150cc time trial
- Gold Glider - collect 10,000 coins. You’ll just get it after playing long enough.
Modes
- Mirror - Get a gold on all 8 150cc gp’s
- 200cc same as mirror
- Alternate ending - gold in all 150 and all mirror
Stamps
Unlock character stamps by winning a gold (1st place) with that character. Unlock track stamps by beating the staff ghost on time trial
Stats
Before choosing a character and kart, it is important to understand what the various stats do and how they play a part into your racing, because it can heavily affect your load-out. A brief description of each stat:
- Heavy Stats
- Speed - Your karts top speed, higher speed = higher top speed (duh).
- Weight - How far you drift off course while drifting (heavier = further). How much you get knocked around when hitting other characters - when two karts clash the lighter one is knocked on its ass and the heavier gets just slightly bumped.
- Featherweight Stats
- Acceleration - How fast you reach top speed. Acceleration stats in 150cc are based on tiers. 3.0 acceleration is exactly the same as 3.75 acceleration! It always rounds down to the nearest whole integer. Source - /u/memoryman
- Handling - How close you stick to a corner/how tight you turn. Generally seen more on bikes than karts.
- Traction - Karts with good traction go faster on off road tracks (eg Dry Dry Desert) and the off road sections of normal maps.
- Mini Turbo - Not listed on the stat screen, but this stat affects how much of a boost you get from a drift boost.
Heavy v.s. Light - what to choose?
The most important trade-off is between Speed and Acceleration. When choosing a heavy character with high speed, you will go faster when maxed out, but low acceleration means it takes a long time to recover from crashes. This makes it good for time trials, where there are no collisions, or if you can get out in front of the pack early on in a race, a high speed character can be almost untouchable. In 150cc time trial all the best times are with the heaviest characters, but in race mode people tend to drop a class or two in favor of better recovery time.
With the introduction of 200cc, speed stopped becoming the dominant stat in favor of acceleration (with the braking mechanic and slowing down for corners, it becomes important to recover fast even if you aren’t in a crash), and handling, so that it is easier to hug the tight turns at a faster speed.
Choosing your Character
When choosing your character, although it is mostly cosmetic, you do have to take into account the characters weight class.
Weight Classes
There are seven different weight classes, each with slightly different stats, going from featherweight all the way up to heavyweight. Each stat is affected by this.
- At the light end, acceleration, handling, traction and mini-turbo are at their max level, at the heavy end, speed and weight are maxed out at the expense of the other stats. For more info on what these stats do, see the {stats} section above.
- Keep in mind also that kart parts have stats too, so you can intentionally choose a character that is low in one stat and then choose kart parts to compensate.
- One final small difference is that the hitbox is bigger on bigger characters. What this means is that say, Bowser is very easy to hit with a boomerang, whereas some characters like Baby Peach are so small that the boomerang goes right over their head.
This image from MarioWiki gives all the nuts and bolts on stats for each weight class.

If you’re not interested in in-depth stats, feel free to skip it and I’ll give recommendations...
So which should I choose?
...right now. The annoying but true answer is that the one you use depends on the situation. For:
- 150cc time trial, as heavy as you can get.
- 150cc racing or 200cc time trial, drop down to the medium - slightly heavy weight classes, and
- 200cc racing, anything goes, although the usage I've seen has been mostly concentrated from featherweight to medium at most.
Choosing your kart
So like characters, kart parts affect your stats. For detailed breakdowns, see the wiki: . I’ll just quickly cover the main points.
Kart vs Bike

- Karts have higher top speeds than bikes - i.e. the very top end of the speed range in the game is only achievable with a kart. This is why you will almost always see karts in time trial.
- Karts can fire hop and bikes can’t. See below from more on fire hopping. This is only a small disadvantage, as fire hopping is an advanced technique that most players don’t learn anyway, and it is not usable as much in 200cc where there are less straights.
- Correction: Bikes that outside drift CAN firehop, giving them an advantage over inside drifting bikes. Source - /u/memoryman
- Some bikes have ‘inside drift’ instead of outside drift. See below for more on drifting. Inside drifting means the drift is less severe at first but veers sharply into the corner, whereas outside drifting karts get thrown more as they enter the drift but can turn in wider than a bike can, or at least with different timings. Some players have switched from kart to bike as they move to 200cc because the ‘late turn’ of the inside drift compensates for their newly (comparatively) delayed reactions.
I favor kart, most of my friends favor bikes. At the end of the day, choose whichever drifting style feels more natural to you.
What kart should I use?
To take the work out of putting together a kart (because it can be a daunting amount of options) I’ve got a few suggested setups below.
- 150cc Time trial -Bowser| Pipe Frame | Cyber Slicks | Super Glider
- 150cc Racing Kart - Mario | Pipe Frame | Cyber Slicks | Super Glider
- 150cc Racing Kart (Luxury) - Bowser | Gold Standard | Gold Wheels | Gold Glider
- 150cc Racing Bike - Yoshi | Yoshi Bike | Retro Offroad Wheels | Super Glider
- 200cc Racing Kart - Tanooki Mario | Mr. Scooty | Leaf Wheels | Super Glider
- 200cc Racing Bike - Yoshi | Yoshi Bike | Leaf Wheels | Super Glider
Techniques
So, the meat and potatoes of the guide. I think Mario Kart can be broken down into a bunch of underlying mechanics or tools that you then fit to the occasion. Like learning what all the different parts of a car do - gas pedal, brake, clutch, gearbox, indicator, windshield wipers, key, steering wheel - and then using them all in concert to drive the car. Or like an improv guitarist whips different tricks, patterns, progressions out of his bag, you can learn all the different mechanics in Mario Kart and try to squeeze the most advantage out of every one.
Acceleration
The first and most important thing to know - how to make your kart go. The A button on the Wii u controller is your gas button. When do you let go of it? Never. Never stop accelerating. Never.
Rocket Start
The Rocket Start is a little trick Nintendo puts in for players to start the race off with a bang. By hitting the accelerate button the moment the number 2 comes down in the 3-2-1 countdown (and then not letting go until the race is over, remember?), your kart gets a mini turbo boost to start the race off.
- To get a rocket start, press the button as close as possible to when the descending number 2 stops moving.
- The further after this point you press, the less of a boost you get.
- If you hit before the number 2 stops moving, your character spins out and flails for a bit, which is even worse than if you hadn’t tried to Rocket Start at all.
With a little practice you should be able to nail this timing on every race without any trouble.
Tricks
If you tap the right trigger as you leave a ramp, your character will do a little trick in midair and you’ll get a boost.
- You can tell trick ramps because they usually have little arrows or some other clear marking in the ‘trick zone’ where you need to press the trigger.
- Tap the trigger, don’t hold it, holding it triggers drift instead.
- In 200cc you need to be careful with your use of tricks. Tricking off some ramps will cause you to fly off the map, so be careful that there isn’t a sharp turn right after the ramp.
Rear-View Mirror
By holding X, your view changes to show what is directly behind you.
- This skill requires juggling knowing what is coming up, steering without being able to see in front of you, and taking into account what you see behind you.
- Some items (shells, bananas) can be thrown backwards by holding down when you throw. You can use the mirror to plan when to throw the item in order to hit someone.
Drifting and Turbo
If you hold the right trigger, your character will go into a drift or power-slide.
- The drift lasts as long as you hold the trigger, and ends when you release it.
- When you drift, blue sparks are generated by your wheels. The sharper the turn, the larger the sparks. If you generate enough of this charge your kart will gain blue flames, and when you exit the drift you will get a boost.
- If you drift for even longer, the fire on your kart will turn orange and you’ll get a longer lasting boost when exiting the drift.
- When you enter the drift you are locked into a turning direction, left or right, based on the direction your character was turning when you entered the drift. You can quickly flick the direction stick as you hold boost in order to choose which direction your drift goes.
- You can control the angle of your drift with the left stick, but there is also a turning force while you drift that will make your cart keep turning no matter what you do. This means your drifts need to be carefully timed because if you turn too far it can be impossible to correct. You can change this by learning the advanced technique of fire hopping.
- Play conservatively - If you think you’re close to getting a level of boost charge, but you’ve nearly turned too far, favor exiting the drift early and giving up the charge - messing up a turn is too costly.
Gliding, Underwater and Antigrav
The tracks have different environmental sections that make your kart behave in different ways.
- Gliding
- When going off specially marked ramps, your kart will deploy its glider and enter glide mode. Sometimes you can reach alternate paths by gliding to out of the way places.
- If hit by a shell while gliding, you will be set back quite a bit more than usual.
- In general you should land earlier rather than later, because you can’t drift while in the air and if you glide for too long you might land too late to make a sharp turn.
- Gliding can be useful for skipping sticky track sections or winding turns.
- Underwater
- Some tracks will have sections that go underwater. This isn’t generally a big deal except that vision can be limited.
- Going underwater can actually affect your speed. A Daisy/Blue Falcon/Cyber Slick combo can go from 4.0 speed to 2.75 speed underwater. The opposite is also true (Bowser's Landship combo is 3.5 speed on Land but 5.75 speed on water) Source - /u/memoryman
- Antigrav
- Anti Grav sections exist between marked strips, and can be easily noticed when your kart wheels turn sideways.
- Anti Grav sections, I believe, feel slightly slipperier to drive on, but the main change is that you can activate a Spin Boost by hitting opponents. Instead of the usual collision slowdown, you actually speed up. A well timed collision can even send one (or both of you) flying if the course if you’re facing the wrong direction.
- You can also hit some glowing obstacles to get a boost, even ones that look like solid obstacles will slip you around and boost you past them.
Slipstream
By following closely behind another player for long enough, you will get a slipstream boost that lasts for a few seconds.
- You can tell when you’re about to get a slipstream boost because white lines appear around you and the opponent you are following, giving a slipstream ‘woosh’ effect.
- Slipstream boost is different to mushroom or drift boosts because you retain turning control rather than being locked to a direction. It also lasts longer than a mushroom boost. This means it can be used even when not on a straight, as you can still turn the corners, but it also can make the kart hard to control as the kart responds differently and everything moves faster.
- Using an opponents slipstream is a great tactic to slingshot yourself past them if you have been trailing them in second for a while.
- Watch out for opponents with weapons - if they know you’re there they can shoot backwards and knock you out. Even worse, if they’re holding something behind them and you bump them, it will activate on you as if thrown.
Fire Hopping
Fire hopping is an advanced technique that allows you to stretch out your drift boost for even longer, and turn sharper out of a drift.
- After exiting the drift, when the boost kicks in, flick the thumb-stick in the opposite direction you were boosting and tap the right trigger as if you were doing a trick. This will both jerk you around sharper than you could have otherwise turned, and will extend the length of your boost slightly.
- To make full use of fire hopping, you repeat the above over and over, flicking the thumb-stick left and right while hopping. It can be a bit hard to get used to the way the kart controls while hopping, so while practicing/learning, stick to long straight stretches where you have room to recover.
- You can maneuver the kart a little while in the air by holding the stick longer on the left or right side of your hop. Skilled players use this to slide their kart left or right across the track while fire hopping forwards.
- In 200cc it can be hard to find room to fire hop, and it is less useful for gaining speed. It can still be used in short bursts in order to re-position or correct from a sharp drift turn.
Braking
Braking by pressing B slows your kart down, but can be done without letting go of the accelerator. This is not useful at all in the lower speeds, but at 200cc braking is a crucial skill to master.
- Tap the B button in the middle of a drift to sacrifice a little speed in favor of a sharper turn.
- If held down too long, you’ll come to a complete stop and lose your stored boost. The trick is to just tap the B button once or twice or in short pulses in order to ‘correct’ your drift. In the same way that you use your stick to correct the angle of your drift, braking corrects the speed of your drift.
- If you find it awkward to press B while always holding the accelerator, try using Y as your accelerate button instead. This puts the brake right below your thumb where I find it is much easier to tap briefly during a slide.
- So while not necessary on lower speeds and on some of the more forgiving tracks, you will learn which turns are too sharp to take with drift alone and require a tap or two on the brakes in the middle.
- It can be a lot to manage when you’re holding the accelerator, holding the left trigger to protect with a shell, holding the drift trigger and now trying to tap the brake as well. And all at 1.33 times the speed you’re used to. Keep at it! Practice makes perfect.
Items
Items appear only in race mode, and are picked up by driving through blue boxes on the track.
- You can use the item by tapping the left trigger, and some items can be held behind your kart by holding the left trigger down.
- When held behind your cart, these items will block a shell that is fired at you, and break in place of you being knocked over.
- Items have different chances of being awarded depending on your place; the better you are doing, the worse the items you receive. In first place you will commonly receive coins and almost never see something like a super 8, whereas in last place you will often get bullets and golden mushrooms. This helps equalize the race and give everyone a chance of making a comeback.
Coins
Coins are scattered all over most tracks, and each one increases your max speed by a small amount, up to the maximum amount of 10 held.
- The difference in a full race with 10 coins compared to one with zero is something on the order of ten seconds, so pretty marginal when you factor in a crash or two.
- Some maps have different items taking the place of coins, such as rupees on the Legend of Zelda themed track, or the purple strips in the F-Zero themed tracks.
- Coins are the most common item to find in first place, and are also the most useless.
Banana
Bananas drop on the track behind you when used, and send you spinning when driven into.
- There is no real way to cope with bananas besides spotting and avoiding them.
- For optimal placement of bananas, try to drop them as you follow the ‘road most traveled’ to increase your chances of hitting someone.
- By holding forward when you tap, you can throw a banana in front of you. Using this to hit an opponent with a banana is a very difficult skill to master and is known as banana sniping.
- Bananas can be held behind you by holding the left trigger, where they will protect you from attacks from behind. As they are hard to use predictably in their normal usage, this is usually what most people prefer to do with bananas (Unless you are in 4th place or lower, where it may be preferable to toss the banana and try your luck on another item box).
- Bananas are the second most common item in first place, and if you get one in first you almost always want to use it to protect yourself.
- You can throw bananas backwards by holding down when you throw. Using the rear view mirror lets you plan and throw to hit someone rather than the throw and pray approach.
- Bananas also drop in bunches of three. These hover around you as a protective barrier but after using the first one they are useless as protection - you cannot hold the left trigger to hold one behind, and attacks can get through the gaps. In this case you usually want to toss them asap and pick up a new item.
Green Shell
Green Shells are the basic attack item in Mario Kart. Using one throws it in a straight line where it travels until it hits an object and bounces or hits a player and makes them spin out.
- More precise than Bananas, in any position except for first you usually want to wait until you have a direct line on an opponent and then throw it to hit them and overtake.
- In first place, you should hold these behind you like with a banana, as protection.
- You can also fire these backwards by holding down on the stick when throwing.
- A nice insult if you win the race is to hit the person coming second by firing backwards just as you finish, sending them down a few places.
- Be careful throwing one when going into a tight turn, as they can quickly rebound several times and hit you.
- Green Shells also appear in bunches of three. Again, you should use these as quickly as possible and pick up a new item.
Red Shell
Red Shells are like Green Shells in function, but slightly better because they home in on a target.
- They appear to target the person the closest to you in a general frontwards cone.
- They can follow a target around corners, but not extremely tight ones where they can sometimes hit the wall.
- They can also be used as protection and this is usually the right thing to do when coming first.
- Like Green Shells, try to save them for where you have a direct line on an opponent as their tracking isn’t perfect. That said, you can afford a lot more leeway.
- They also appear in groups of three, which can be immensely useful in jumping a few places up the ladder but is not to be kept in first place.
Mushroom
Mushrooms give you a short boost forwards, similar in length to a first level drift boost but much faster in speed.
- When in a mushroom boost, sticky terrain does not slow you down. This opens up many shortcuts that are otherwise inaccessible.
- Careful use of mushrooms is crucial for beating time trial by taking shortcuts.
- In race mode, they are good used to recover from a crash, or gain some ground on a straight stretch.
- You do not generally want to hold onto them for too long unless you are coming up on a good shortcut. You are at risk to losing them through lightning, or by people brushing against you and stealing them, and if you are coming first you would usually be better served with a defensive item.
- In 200cc be very careful with mushroom use. There are many areas where you can miss a turn and go flying off the track, wait for a long straight stretch or use them as crash recovery!
- Mushrooms also appear in bunches of three fairly regularly. The more the merrier.
Mushrooms are commonly found at about 3rd and below.
Golden Mushroom
Similar in function to mushrooms, but instead of a one shot boost, after firing them the first time you can use it an unlimited amount of times in a small time window.
- Great item to jump up a few positions and found relatively commonly below 6th or so
- Often wise to wait for a good stretch before starting the timer.
- Be very careful using in 200cc
Ink Jet
When used, everyone in front of you gets a cloud of ink squirted onto their screen, obscuring their vision.
- The closer to the front you are, the bigger the ink blotches and the longer they last.
- You usually just want to fire and forget this item, and hope it messes up someone enough for you to sneak past or bump them off the track.
Lightning
Like the Ink Jet, this is a fire and forget item. When fired it makes everyone shrink, removes their items, coins, and boost, and slows them down for a while.
- Like the Ink Jet, the closer to the front you are, the worse the effects.
- If you fire this, you can flatten ‘little’ opponents that were hit by the lightning by running them over.
- There isn’t much you can do to predict this or mitigate it. In general, try not to hang onto items for too long unless they are defensive items, and if you get hit aim for the nearest boost in order to pick up speed.
- If you get hit, try to collect some of the coins that you drop as you regain your speed.
Bullet
Encases the player in a Bullet Shell that zooms along the track faster and (debatably) with ‘perfect’ driving for a short period of time.
- Follows the middle of the track generally. Has put me in difficult situations in a few maps though when it takes paths I’m not used to.
- Knocks over anyone it goes through on its way.
- Common in the lower placings as an easy way to climb a few spots.
- To use effectively, just fire and forget and hope that it gains you some ground.
- To deal with these, if you hear the distinctive whistle this makes, try to get to the edge of the track. The Bullet usually travels along the center, so if you get out of its way you can avoid being knocked over.
- The Bullet can be steered slightly. It is a bit cruel, but ensuring the people who will be behind you remain even further behind you is not a bad idea. Source - /u/grotgrot
Star
The Star makes you invincible for a short time, and grants your kart perfect stats. Any players you bump into will get knocked over, and many scenery objects will explode when hit instead of making you stop.
- These appear in lower positions and are good fire and forget items. Use it and hope to climb a few spots.
- If you hear someone with one of these coming up on you, just try to get out of the way (use the rear view mirror if you have to) because the last thing you want is to get hit.
Fire Flower
The Fire Flower lasts a moderate amount of time after being activated, and lets you hurl fireballs forwards or backwards to knock opponents out.
- Same effect as shells as far as knocking someone out.
- Fire and forget, although maybe wait until a player is within eyesight before activating.
- If you hear a Fire Flower try juking or zig zag hopping left and right in order to throw off their aim.
Bomb
Explodes after a short timer in a radius similar to the Blue Shell or Super Horn. Knocks everyone over.
- If throwing this forward, the time it takes before exploding is roughly the emount it takes to drive up to it, so be careful not to get blown up by your own bomb.
- A safer option is usually to drop it or to throw it backwards.
- If you hit an opponent directly it will go off without waiting for the timer. This can be good or bad depending on how close you are to the target.
- When you get these, try to put yourself in the center of the group, then throw it forwards on a straight stretch and swerve around the edge of the explosion. If the people around you aren’t paying attention they will usually drive directly into the bomb.
- If you see a bomb there usually isn’t much you can do - avoid if possible.
Boomerang
The Boomerang is a 3 use item that goes forward in a straight line then returns to the player, knocking over anyone in its path.
- Small characters can actually be too short for this to hit, going straight over their heads.
- While it is being thrown, your hands are actually empty. If you pick up another item in this time, the boomerang will just disappear.
- On the third use it just continues forwards in a straight line instead of returning.
- If you see someone with one of these, either try zigzagging, or if you are feeling daring you can actually catch it out of the air by tapping the item button just as the boomerang reaches you.
- If you get one, just try to aim for a pack of people where it will do the most damage on both its outward and return journey. Try to get rid of it before the next item box rather than hanging onto it for ages.
Piranha Plant
The Piranha Plant sits on the front of your kart and lunges at short intervals, giving you a boost each time.
- The Piranha Plant disappears a certain amount of time after being activated.
- When it lunges, if there are any items, bananas, or players within reach it will gobble them up and, in the players case, knock them over.
- Fire and forget most of the time, no reason to keep it, just use the boost.
- Keep your distance if you spot another player with one of these. The plant has deceptively long reach too.
Blue Shell
The famous ultimate shell of mario kart. This shell zooms along the track towards the player in first, knocking over everyone in its path like a Bullet. When it reaches them it spins around their head a couple of times before exploding.
- Has always been seen as unfair or the great equalizer, depending on who you talk to, because it specifically targets the player coming first and is impossible to avoid.
Well, almost impossible. If you have a Super Horn and activate it while the Blue Shell is above your head, it will shatter before knocking you over. Super Horns are themselves very rare though, so it isn’t often you get the chance to pull it off. - You can try to avoid the shell if you get warning by dropping down to second or third intentionally and letting it hit someone else. This is easier done because someone else in the room yells Blue Shell, you don’t get enough warning in game.
- If you aren’t coming first, just get to the edge of the track when you hear it coming so it doesn’t knock you over.
- This usually appears once per race. I have seen it appear not at all and twice as well.
To use effectively, just fire and forget. If you are doing badly enough to get the Blue Shell you should be worrying about getting back to first.
Super Horn
The Super Horn is a one use item that causes an area of effect explosion, knocking over any enemies and breaking any items within a short radius.
- These can be tricky to master using, as you need to use them when the item is close enough to break, but before it hits.
- If you aren’t coming first, they usually aren’t worth holding onto as a quick sneaky shot by a close opponent with a shell can knock you over before you have the chance to activate the horn.
- These are great protective items if you are coming first however, as they are the only thing that can break a Blue Shell. You will hear it beeping when it is within blast radius, and you have a small window while it circles overhead to activate the Super Horn.
- In general, to use effectively, Look for a bunch of people and use it on them, or as protection from a shell, but don’t hold onto them too long. If you are in first place there is a case for keeping it as Blue Shell insurance.
- To deal with these, just try to spot players holding them up in the air and stay outside the blast radius.
- Bloopers make the CPU drive slowly and affects the player's traction, making it pretty annoying... Source - /u/memoryman
Super 8
The Super 8 Spawns one of each of the other items in a ring around you, used up one at a time by tapping the trigger.
- Other players can steal these items by bumping into you, so you should just use them all asap. Make sure not to run into your own bomb!
- If you see someone who has one but isn’t using it, try to run into them and steal a mushroom or shell.
Maps
There are shortcuts in almost every track, some that just require clever driving or knowledge, and some that need a boost mushroom to access. Rather than try to explain them here, I’ll just link to a view videos showing them.
- While it is essential to have all the tools and driving tricks, the other huge aspect of Mario Kart is knowing the levels inside and out. Practice practice practice on time trial.
- Get to know which corners you should and shouldn’t take and memorize your ‘racing line’ for each track, the line that your kart would follow if it was doing everything perfectly.
- Shortcuts - New Maps
- Shortcuts - Retro Maps
- Shortcuts - DLC 1
- Shortcuts - DLC 2
Playing at 200cc
At 200cc, the whole ballgame changes. Maps that get boring in 150cc become fun again in 200cc, and maps that are just fun in 150cc become batshit insane roller-coaster rides with corners that are impossible to take without learning how to drift-brake.
- When playing in 150cc, your general item strategy should be to use items as you get them, try to gain a few positions each time and get to first. In first, and maybe sometimes second, you should play defensively and keep items as protection rather than to attack.
- The main difference in 200cc is that you should always play defensively. In 150cc it can be hard to claw up the ladder, but in 200cc if there is an accident you can go from 7th to first in a heartbeat, and trust me you will want that protective shell when that happens. So even down to maybe 8th place, in 200cc you should always keep defensive items in preparation for when you overtake to first place through sheer skill and good driving. Or luck.
- Maps such as Toads Turnpike or Mario Circuit with their wide banking turns are doable without drift-braking.
- Newer maps such as Cheese Land or Neo Bowser City absolutely require braking to get around them at a decent clip/without crashing.
- You will have to relearn your racing line for each track on 200cc as your karts handling changes and the paths you take through the level change.
- You can’t do Time Trial on 200cc, but if you want to practice a specific track you can go into vs battle and set the rules as ‘Easy CPU, 200cc, Mushrooms Only, 32 races’.
- Some old tracks change drastically because you can now glide or skid over shortcuts that previously slowed your kart down too much. Here is a video of the best of them:
https://www.youtube.com/watch?v=n9kEdE19WT8
Multiplayer
Multiplayer is mostly similar to offline play but there are a few things to be aware of:
- One quirk there is that the higher your score relative to the other players, the worse box items you get. (Or the flipside - the lower your score the better items you get.) Source - /u/grotgrot
- Also in online play it is only courtesy to vote quickly rather than making everyone wait. Source - /u/grotgrot
How do I use this guide?
So how do you use all this info to beat your friends at Mario Kart?
Well it’s a lot of info and that’s all well and good, but I also think that you get better faster by focusing your practice rather than aimless practice. So here is my suggestion for how to improve at a quick pace and measure your progress with some milestones:
- When you start, your first goal is to beat every Nintendo ghost on 150cc Time Trial. The time trial ghosts aren’t hard to beat, so if you haven’t beaten them all then it shows that you could improve your racing lines on each map to be at least as good as Nintendo's.
- Don’t waste time on the lower speeds as completing a track in 150 also completes it on lower speeds.
- Experiment with a few different kart types while doing this until you settle on a driving style you like.
- Practice specific techniques, starting with drifting and working your way up. Spend time on each without worrying about progress as much, it will pay back later. Go into each race with a specific thing in mind you are practicing.
- If you try a track a few times and are getting frustrated, download the world record ghost off the internet and watch it. Take note of which path it takes through a track, where it uses its mushrooms, etc.
- Don’t focus too long on any one track. If you’ve been trying too long, move to a different one and come back later.
- If you download too many ghosts, delete an old one by going ‘view ghost’, selecting it, and hitting the minus button.
- Feel free to play GP’s as well. I tend to focus my solo play on time trials (or I did while I was still beating them) and then playing GP’s in social settings.
- Once beating all time trial ghosts, get one star on all 150cc cups. Time trial gave you a chance to practice specific driving and kart handling techniques, GP’s give you a chance to practice item usage. You also need one star on each to unlock mirror and a gold kart part.
- Once getting one star on all 150cc tracks you will unlock mirror. Get One star on each track here as well. This is a good exercise in unlearning and relearning levels, so that you get good at taking the turn and not at memorizing the muscle movements.
- Your final goal is to 3 star every GP on 200cc. Play a GP and see which maps you don't easily win, then practice doing a perfect lap on any problem tracks. You can mimic practice mode on 200cc by going into VS mode with No Items/Mushrooms only and Easy CPU.
If you still want to push your skill further you can try climbing the ladder that is online play. At this stage you should be goddamn amazing at the game compared to Joe Normal, so you won’t have any trouble. I am still working towards 3starring every 200cc GP and I consistently place at the top of the online rankings.
